How to make a Button Bouquet
I'm getting married soon, and I wanted one of those cool button bouquets that you see all over Etsy and the alterna gothy wedding webpages.
I looked all over Etsy for one that spoke to me, but I couldn't really find what I wanted.
I thought- I'm pretty crafty, so I'll make them myself!
I googled around for instructions, and I found some that use wire to make the stems. You make the whole thing out of wire. I tried that, but apparently my using wire abilities are not up to par.
I saw some references to using floral foam, and that's what I ended up doing.
I couldn't find a good, detailed tutorial for the floral foam style, so I decided to make one for y'all.
What you will need-
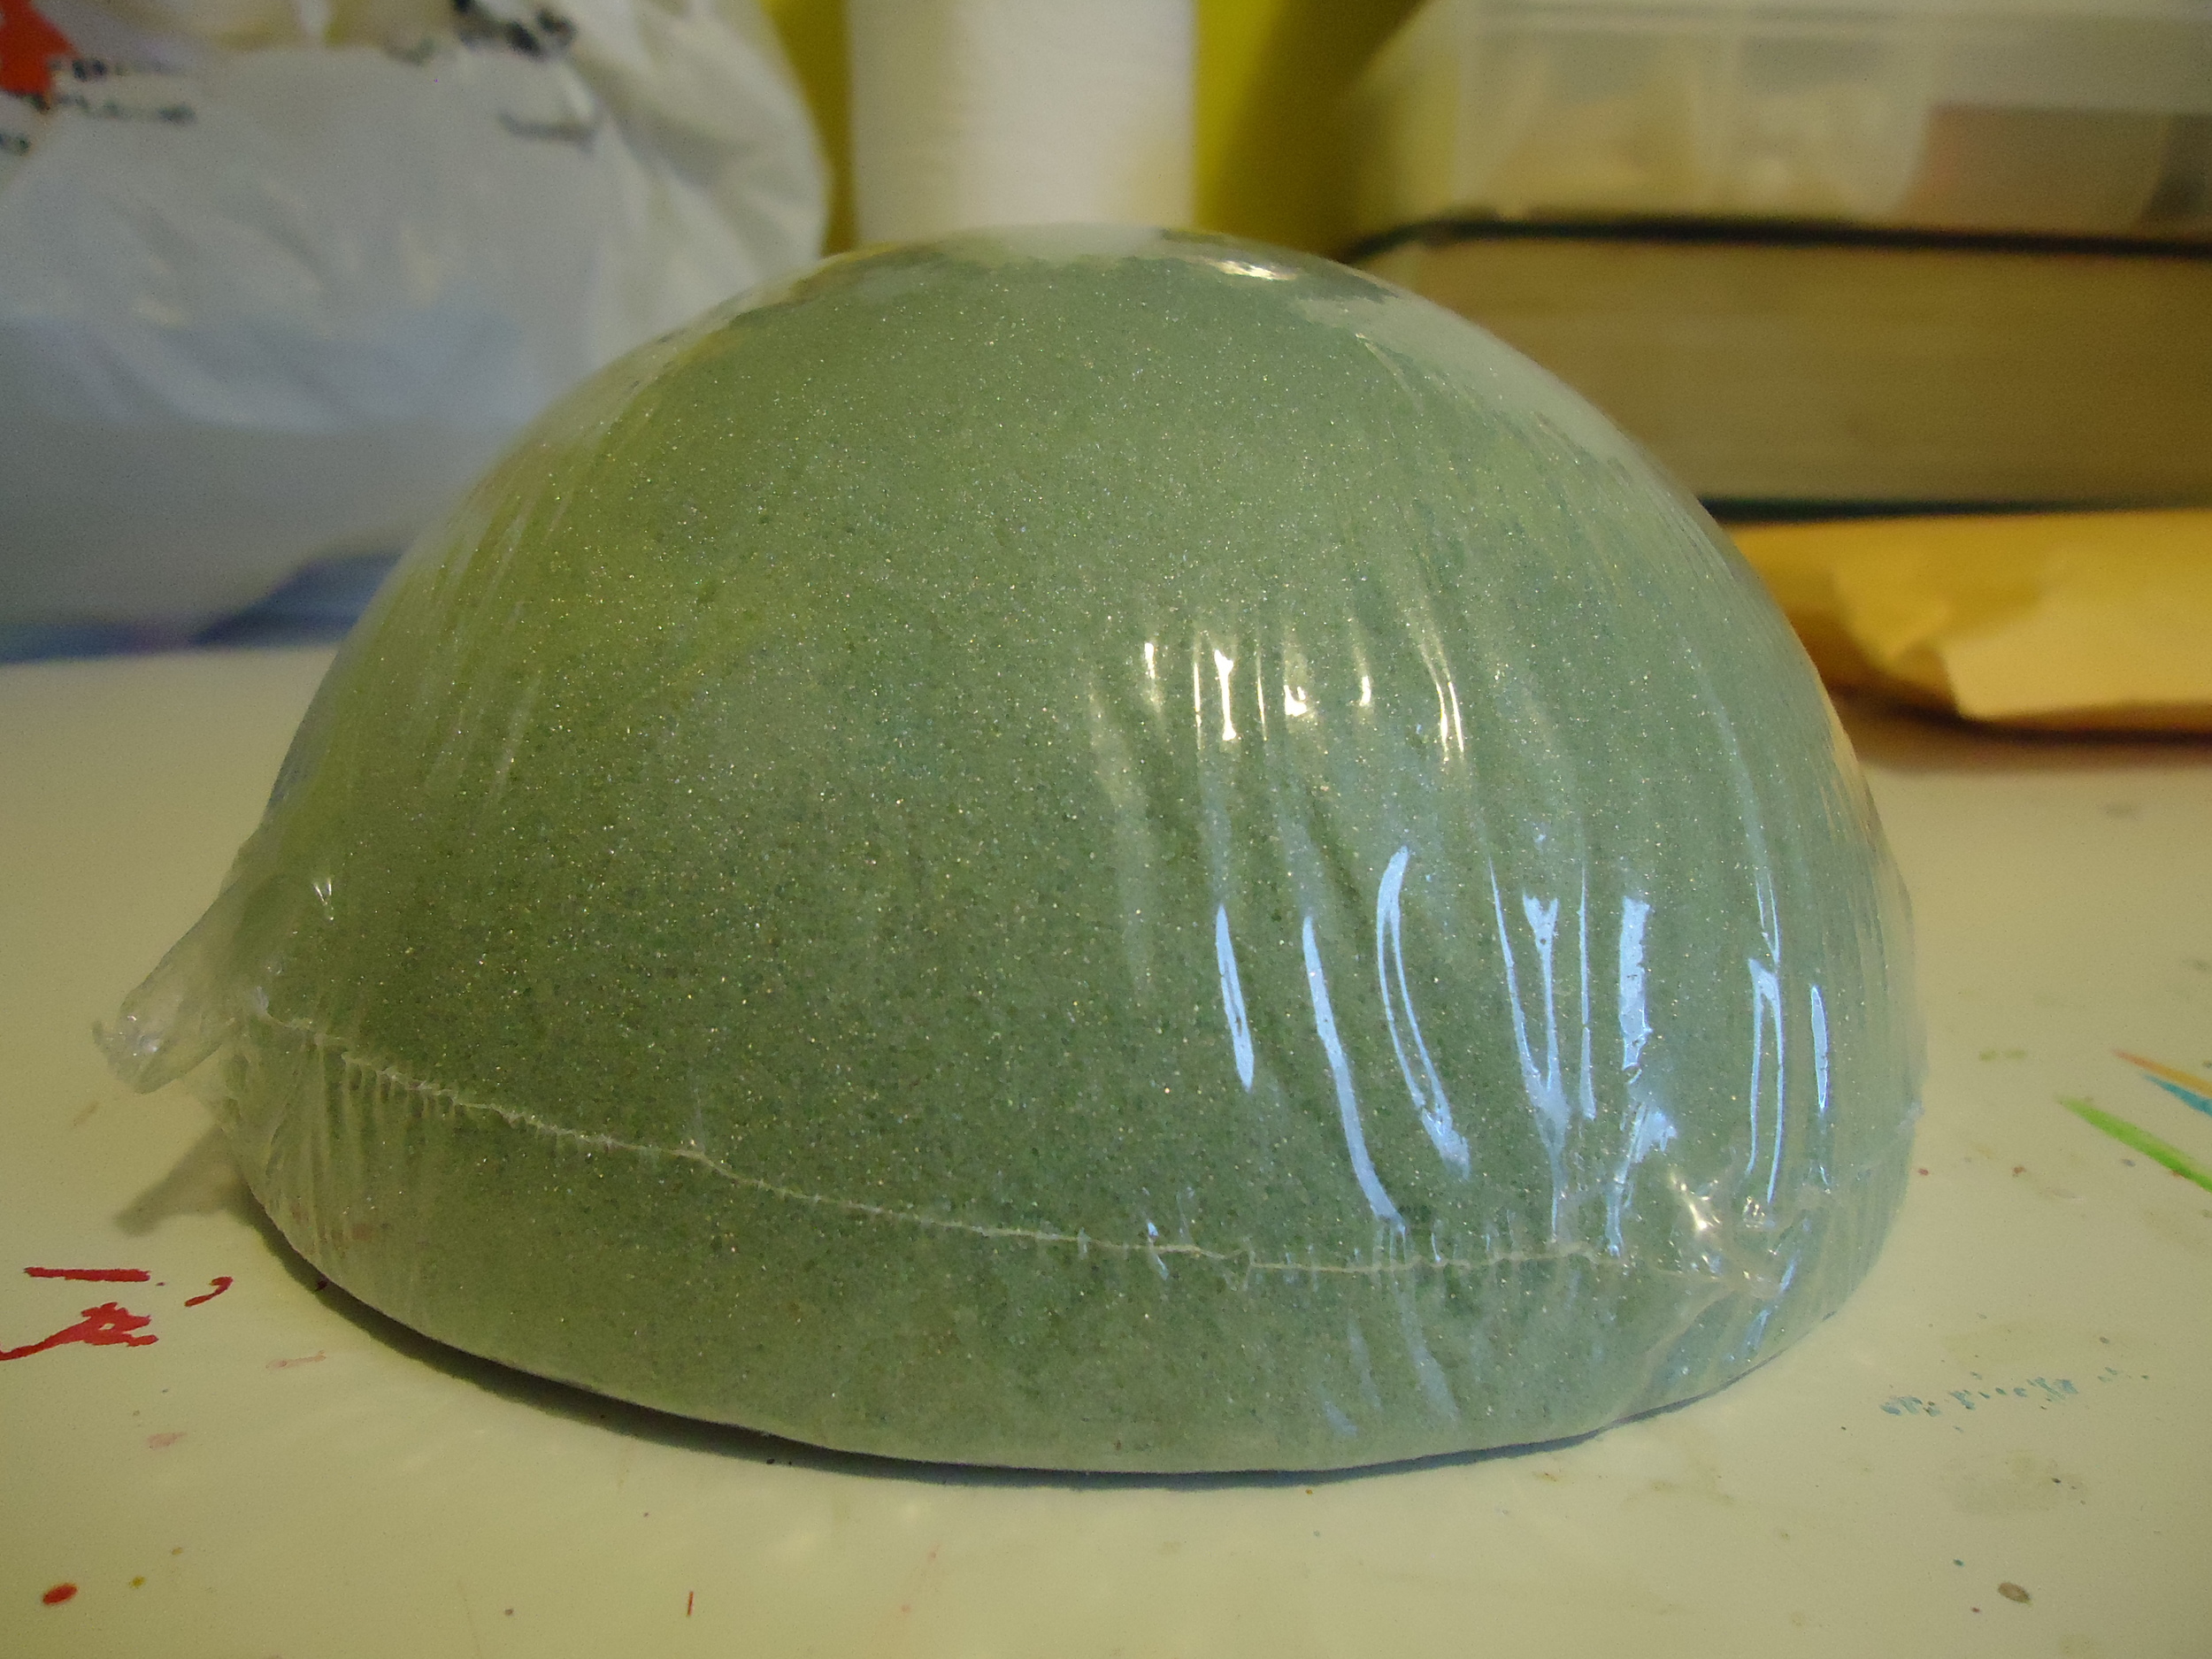
A half sphere of floral foam. I got an 8" for me and 6" for my bridesmaids. I got them from Amazon, b/c the craft store is not convenient for me to get to.
A handle. I bought these from Amazon, but you could also use dowel rods cut to size, if you have that at hand.

Pliers and floral wire

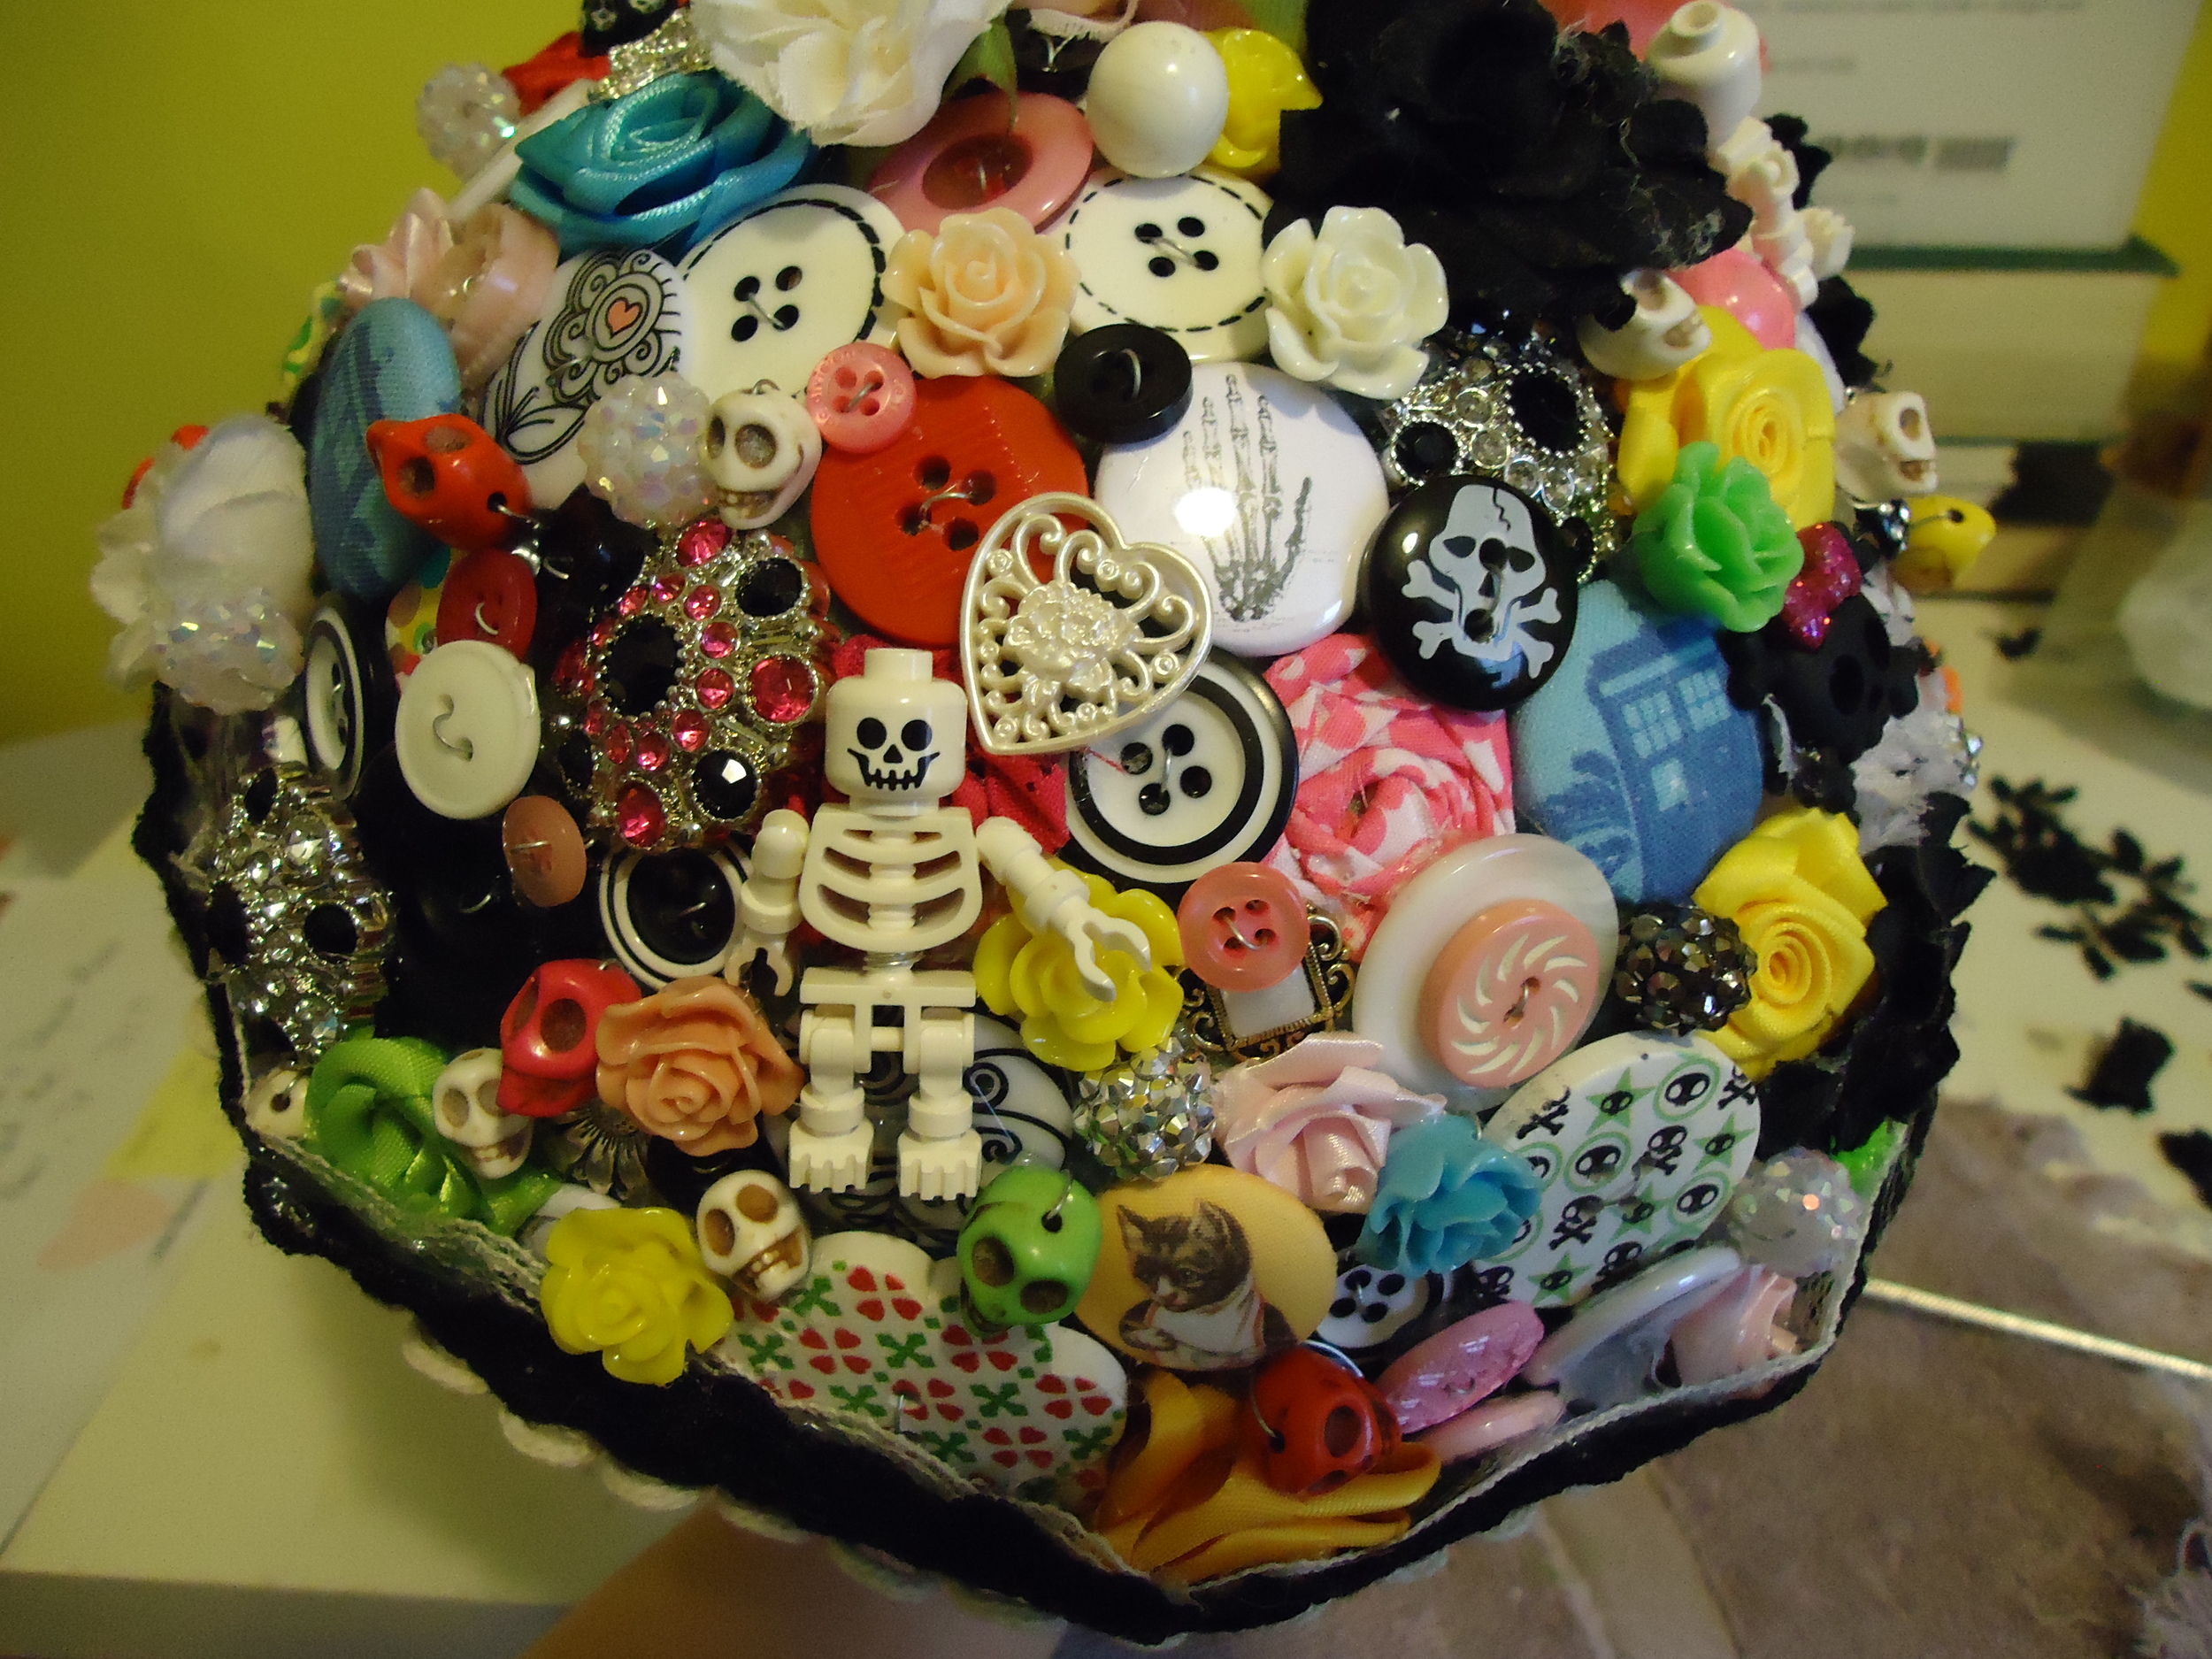
Buttons and buttons and more buttons and brooches and beads.
Seriously, however many buttons you think you should need- you need WAY more than that.
Sourced from Etsy, Amazon, Joann's, and stuff I had already.
You can keep to your wedding colors if you want. I didn't, because I like a lot of color. And if you have a theme in mind, you probably can find buttons in that theme too. I want skulls, so I bought a lot of skull beads and buttons.


Fake flowers. From Etsy and craft stores.

I also used pinback buttons and Lego skeletons. You can really add just about any small object to this bouquet.

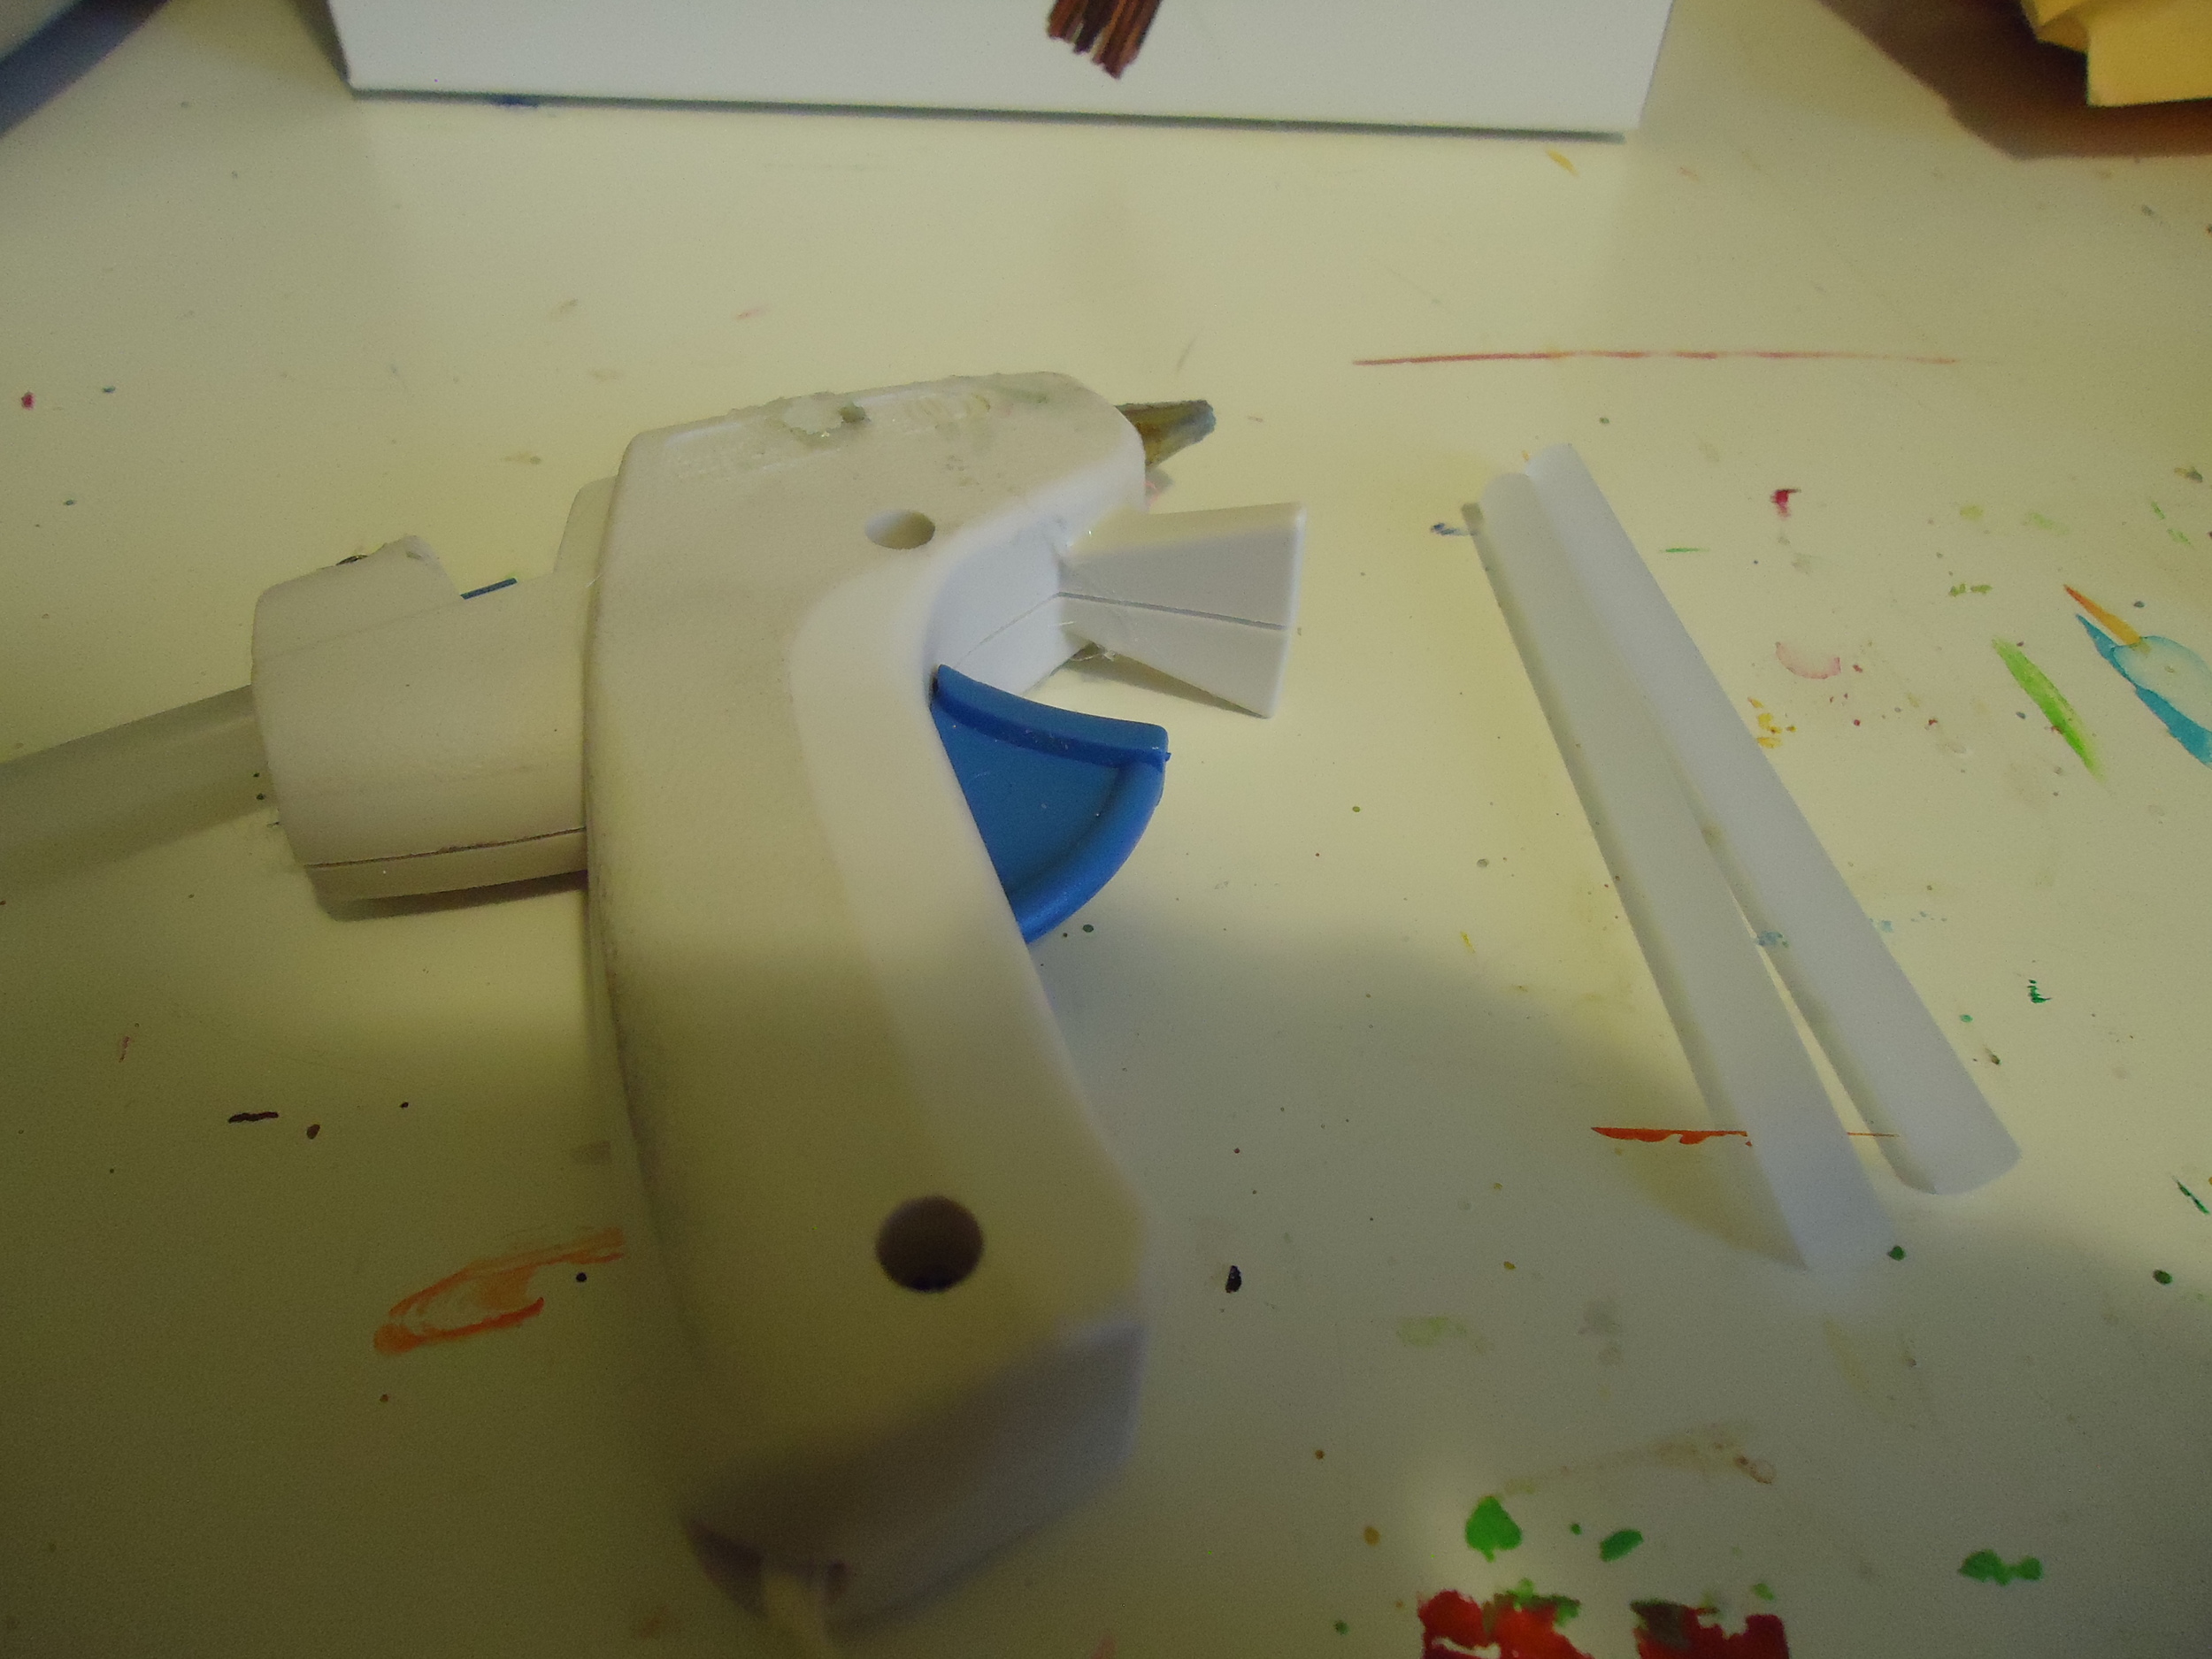
Hot glue gun! Be careful, y'all. Don't burn yourself like I inevitably do.
I forgot to take individual photos of these, but you also need fabric and lace.
Before we get much further-- some people spray paint their floral foam prior to gluing on the buttons. It allows you to be less concerned about gaps in the buttons. I didn't do this b/c I was concerned it would make the foam sticky, which seemed like a pain. And I was anxious to get started.
But you could buy an extra foam and try it out, if having to be less fussy with the buttons appeals to you.
Ok- we're ready to start.
Cut a small piece of wire.

Thread the wire through the button. (Or bead. Or the back of the pinback or around the Lego, etc.)
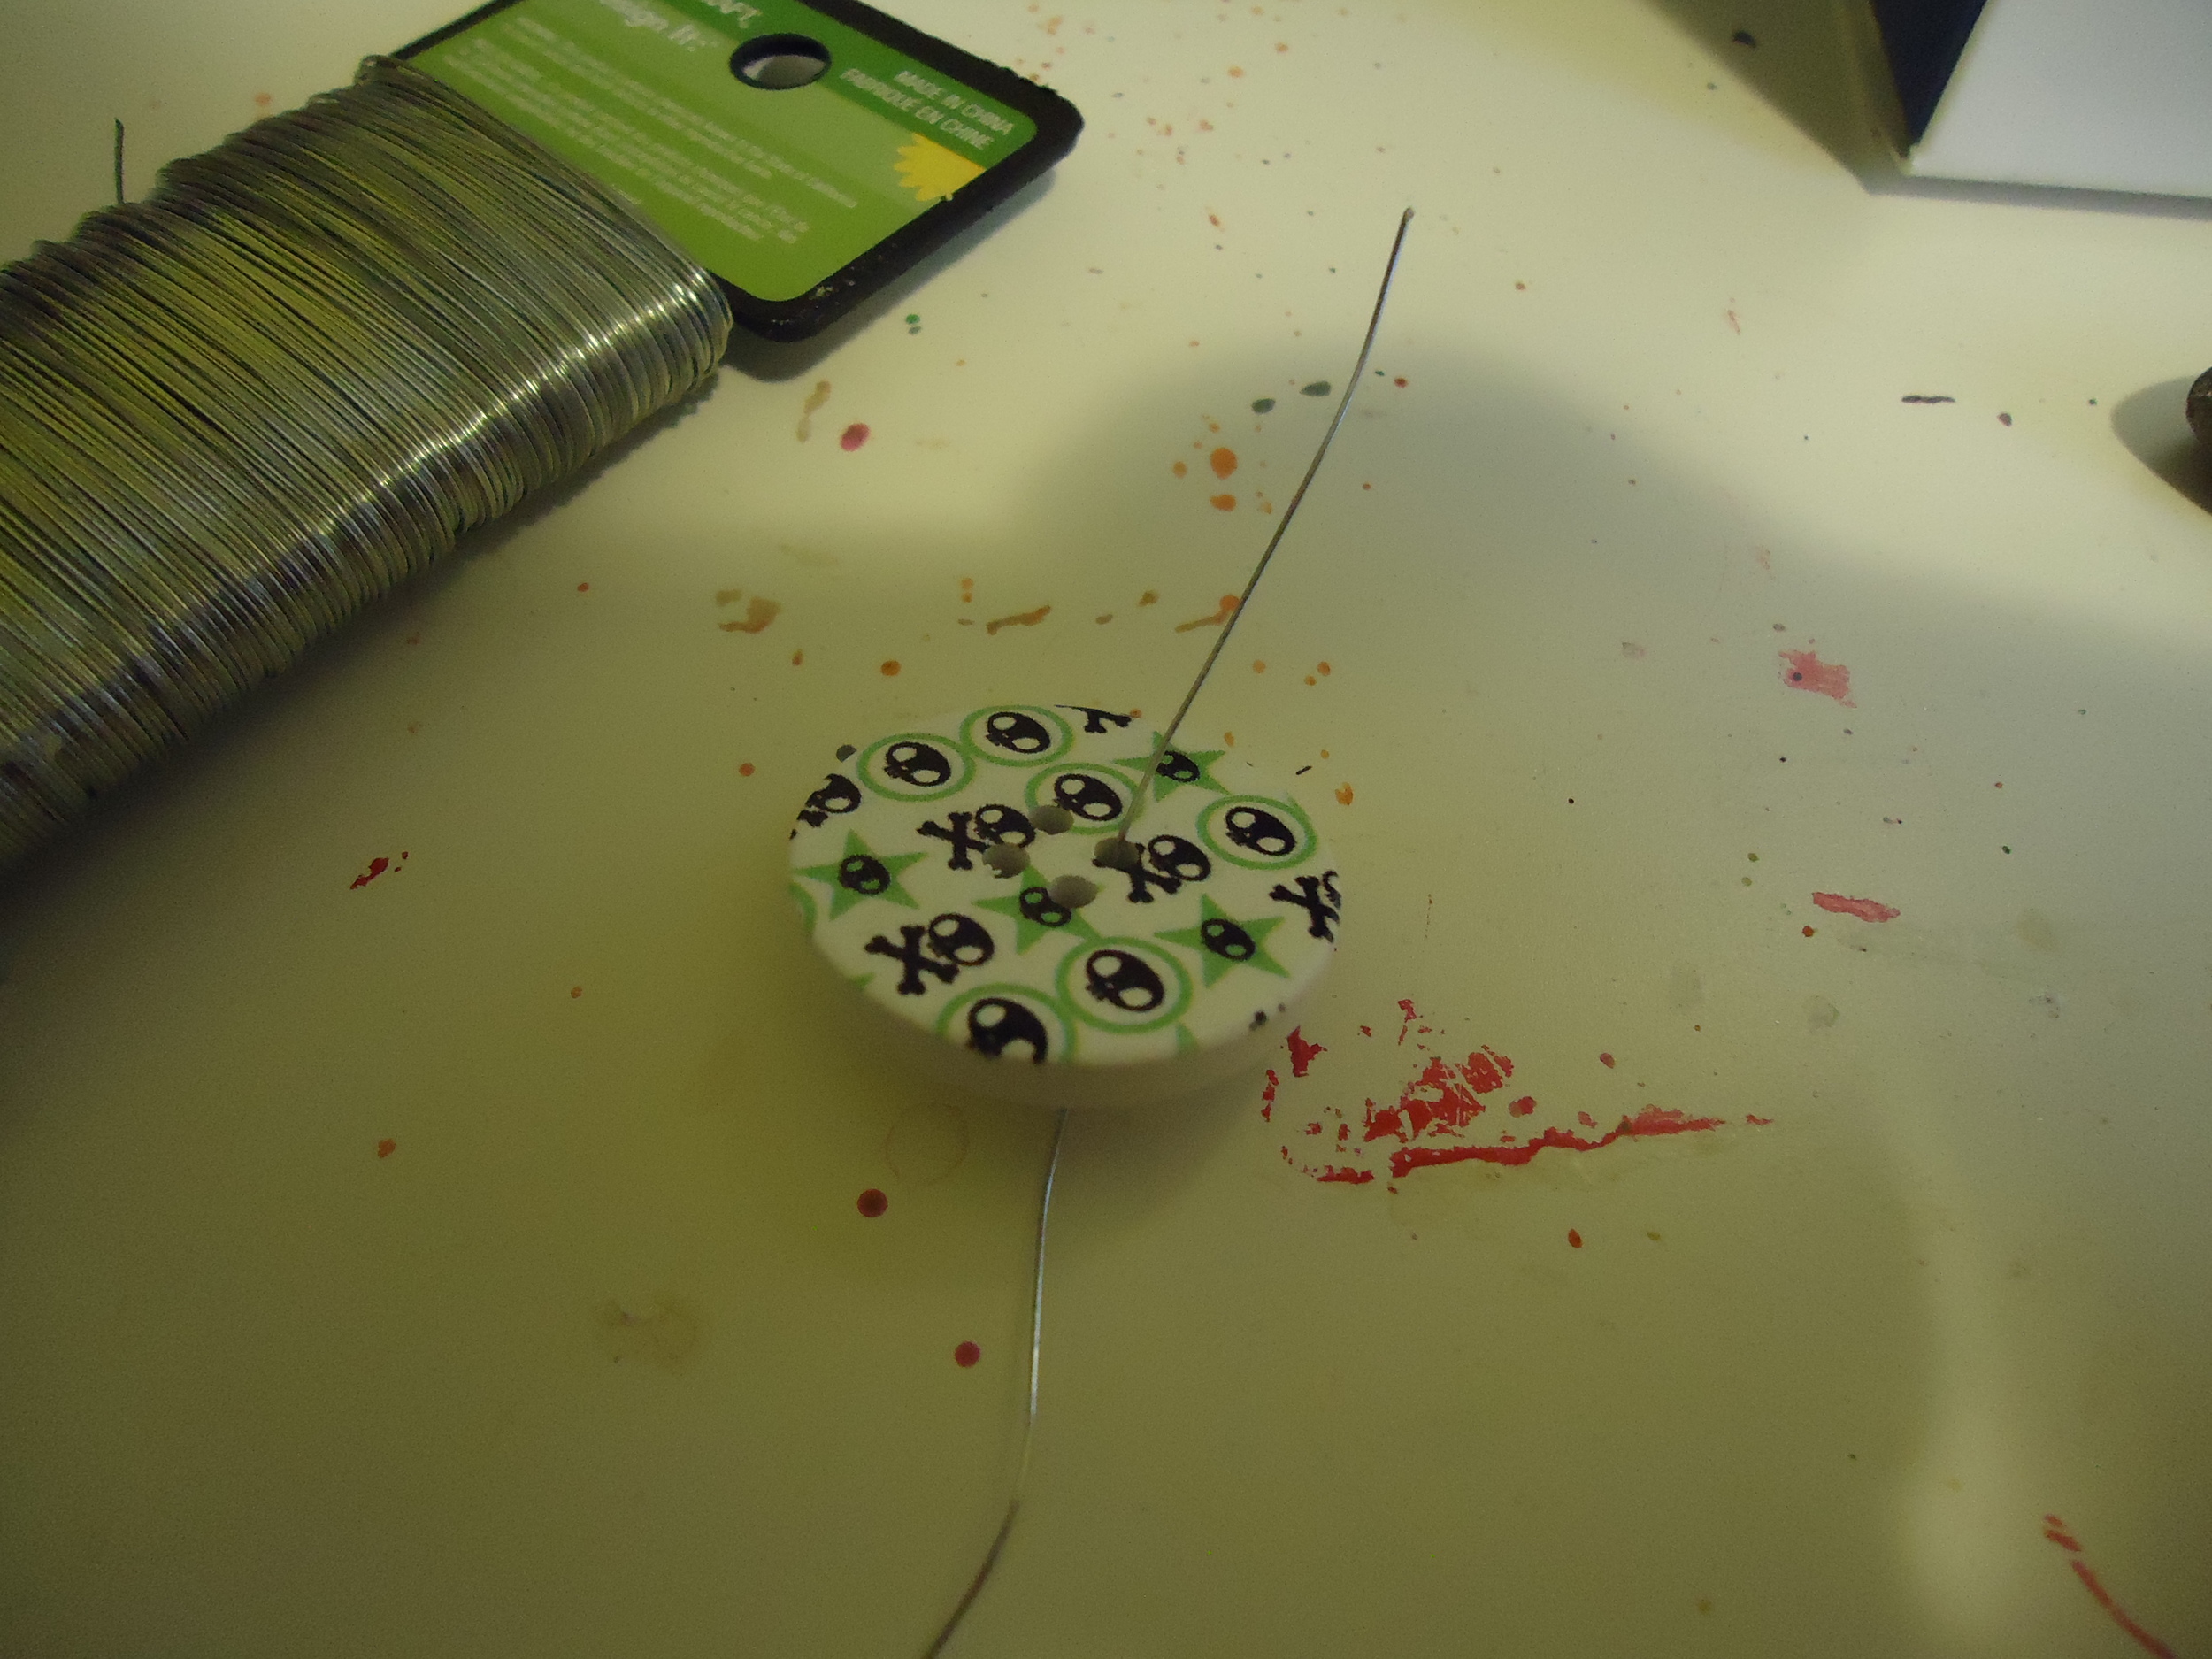

Twist the wire together.

Push it into the foam.

Pull it back out.

Hot glue on the hole in the foam.

Press the button down on the glue.

Keep adding stuff until you fill up the foam.

It's time to add the handle. The handles I bought were made to have actual flowers in them, so I just clipped off that foam part and glued the handle part to the bottom.
It's pretty sturdy with the glue. I wouldn't advise whipping it around over your head by the handle or anything, but if you treat the bouquet with a decent amount of care- it should be fine.
If you're using a dowel rod, make a hole in the bottom, fill it up with glue and stick the wood in it.

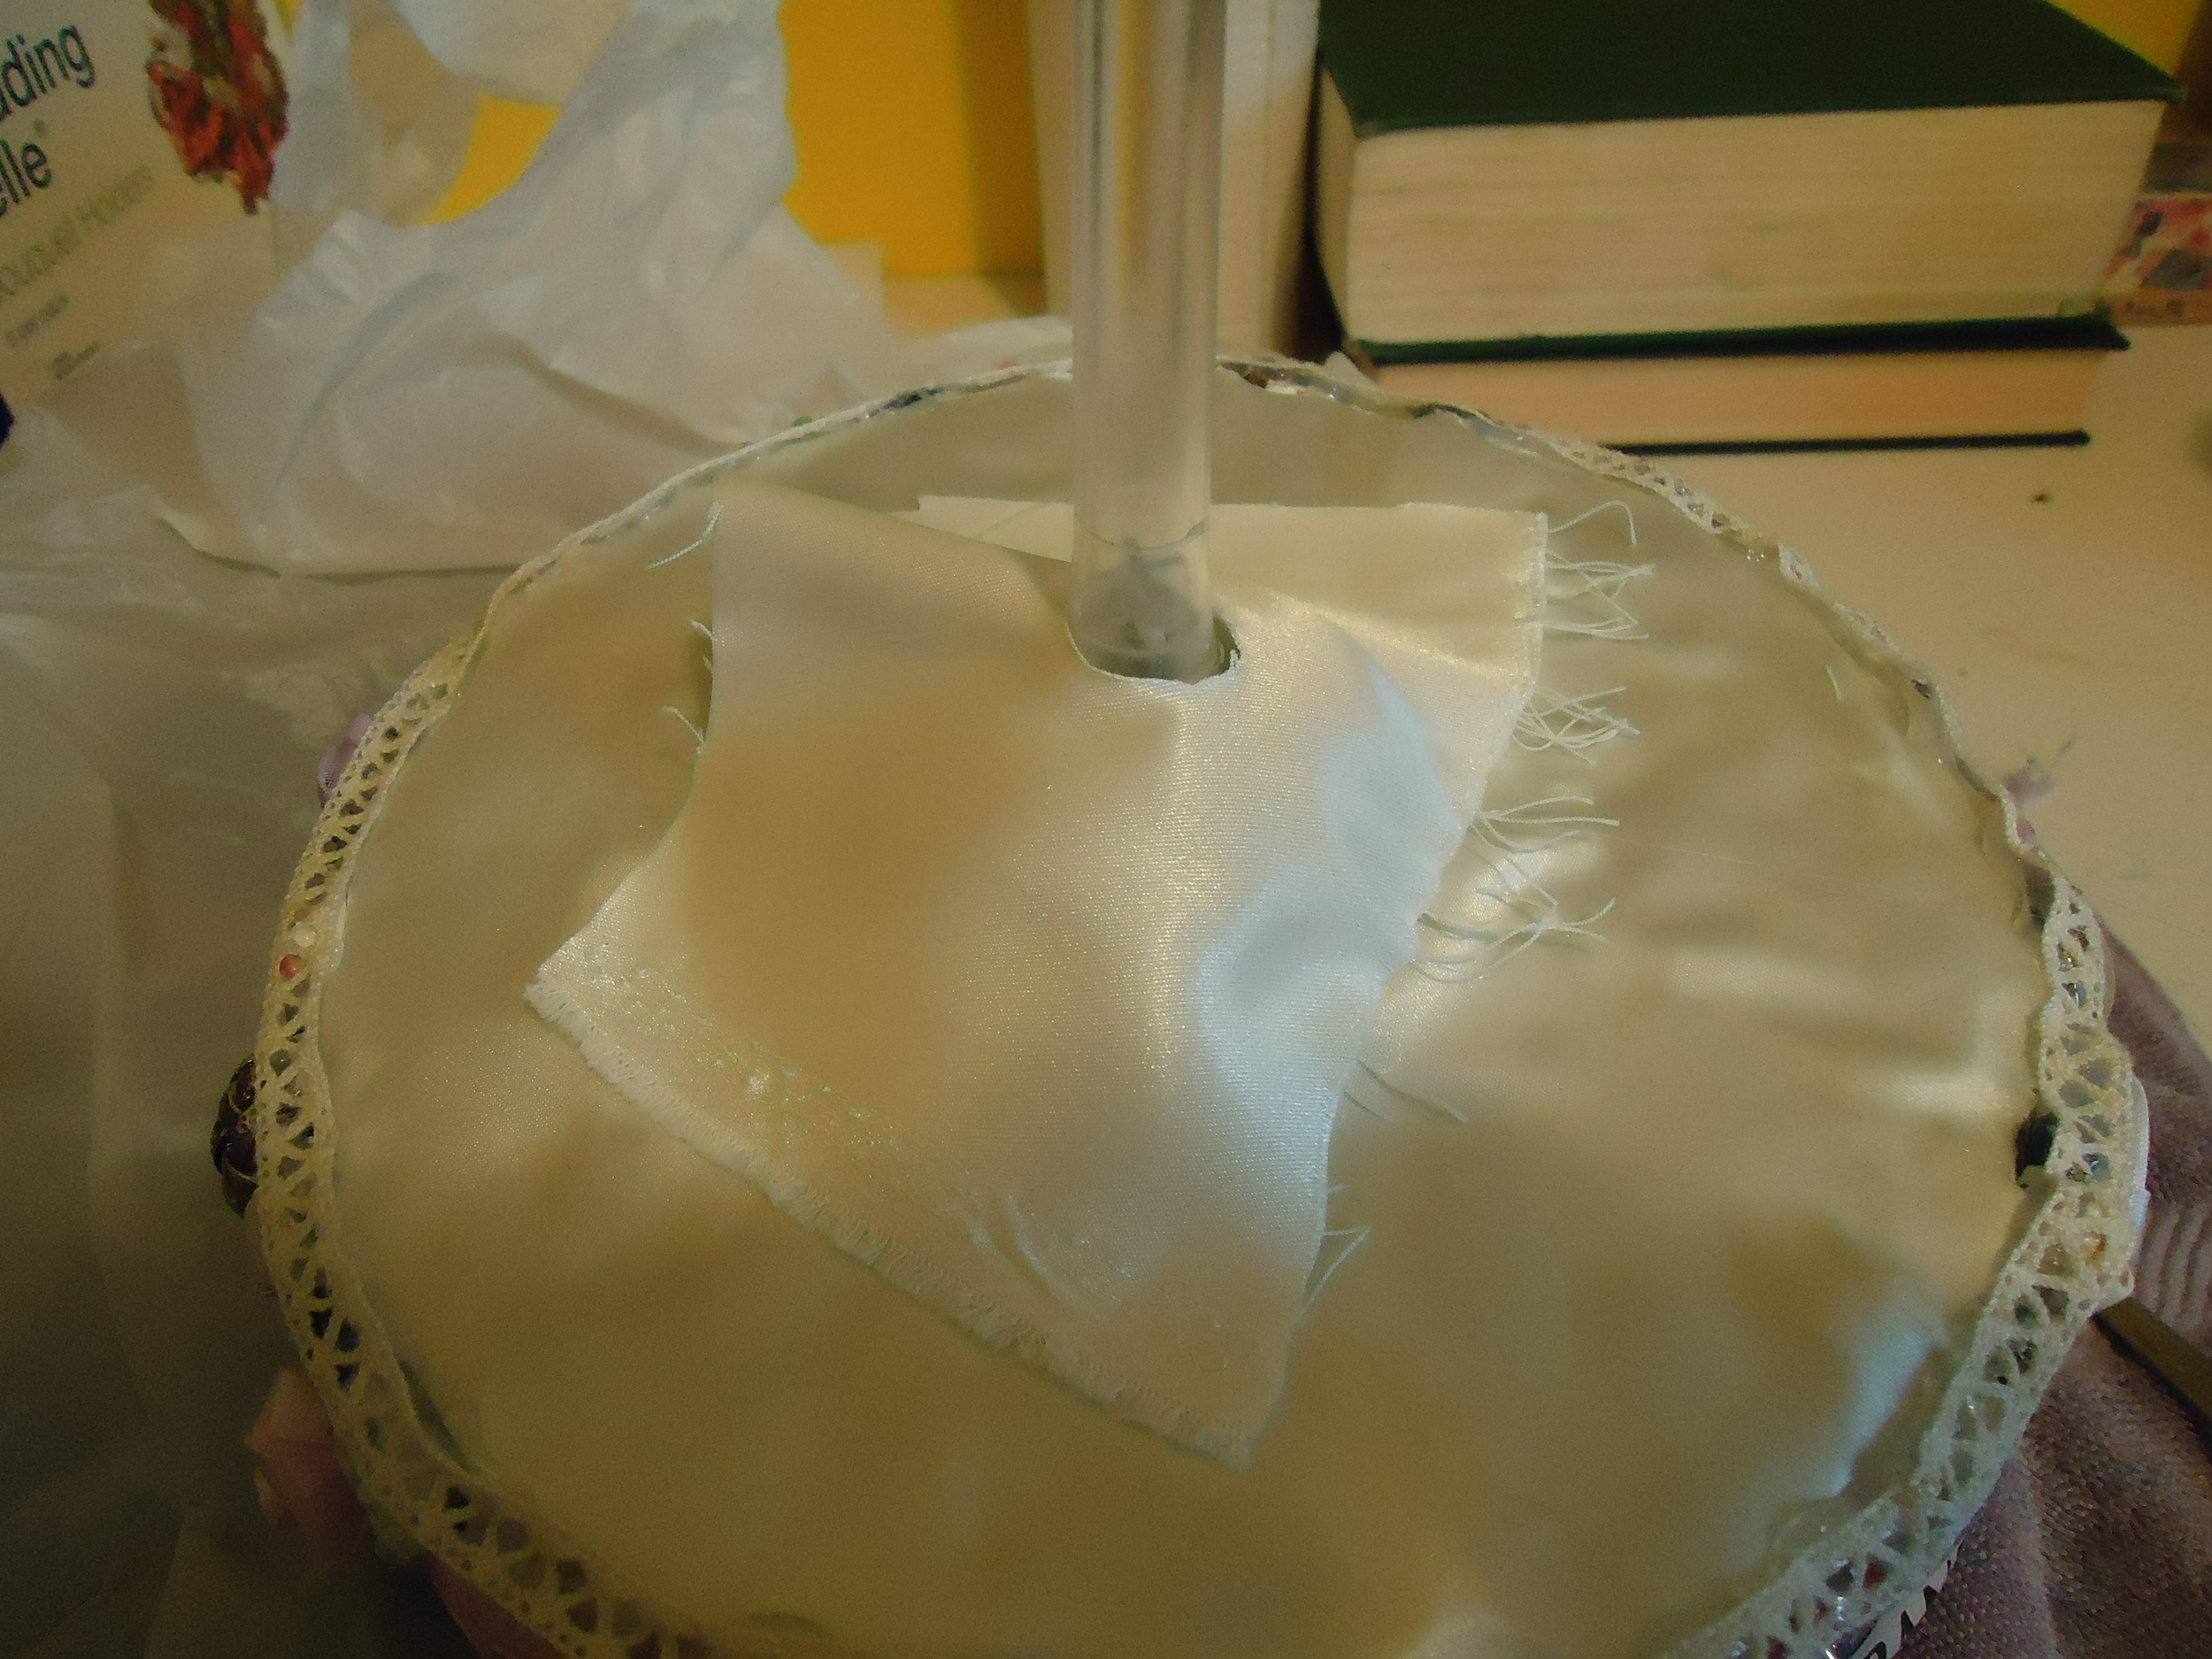
Cut a piece of fabric larger than your bouquet. Cut a hole in the middle for the handle and glue it down to the foam. I'm using satin here, but I could have gone less fancy, since I added lace on top of it.
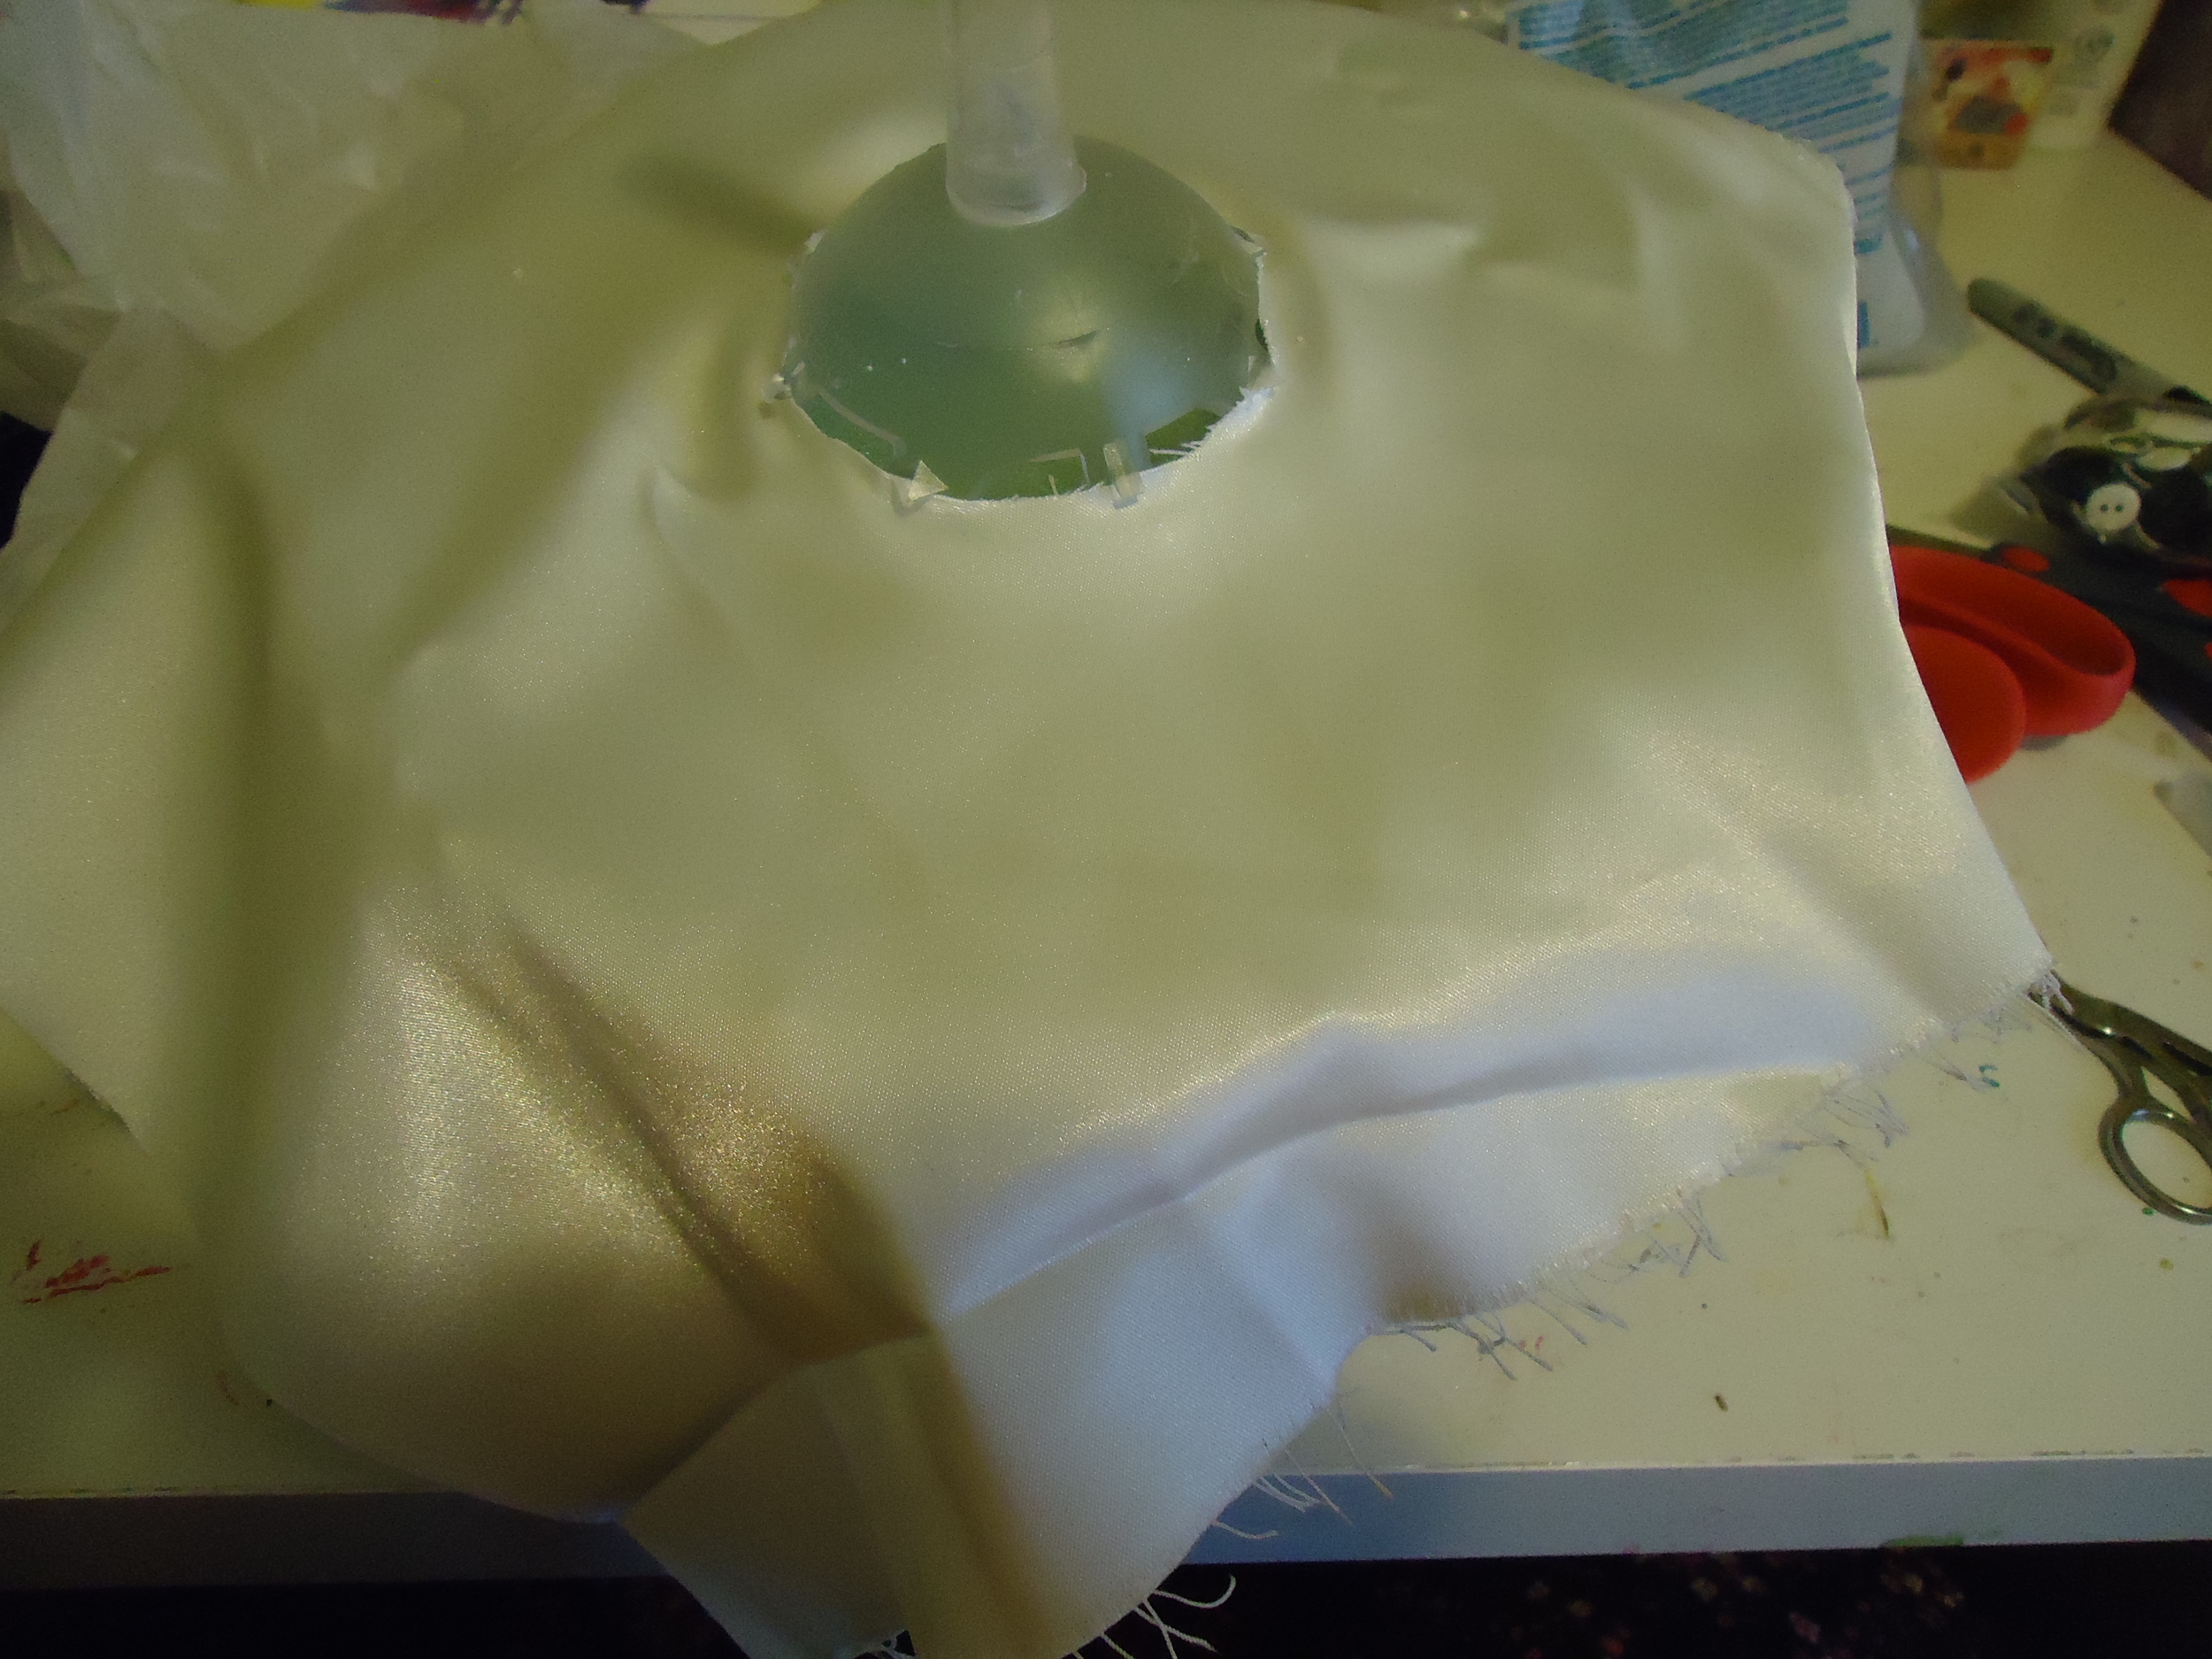
Trim the fabric.

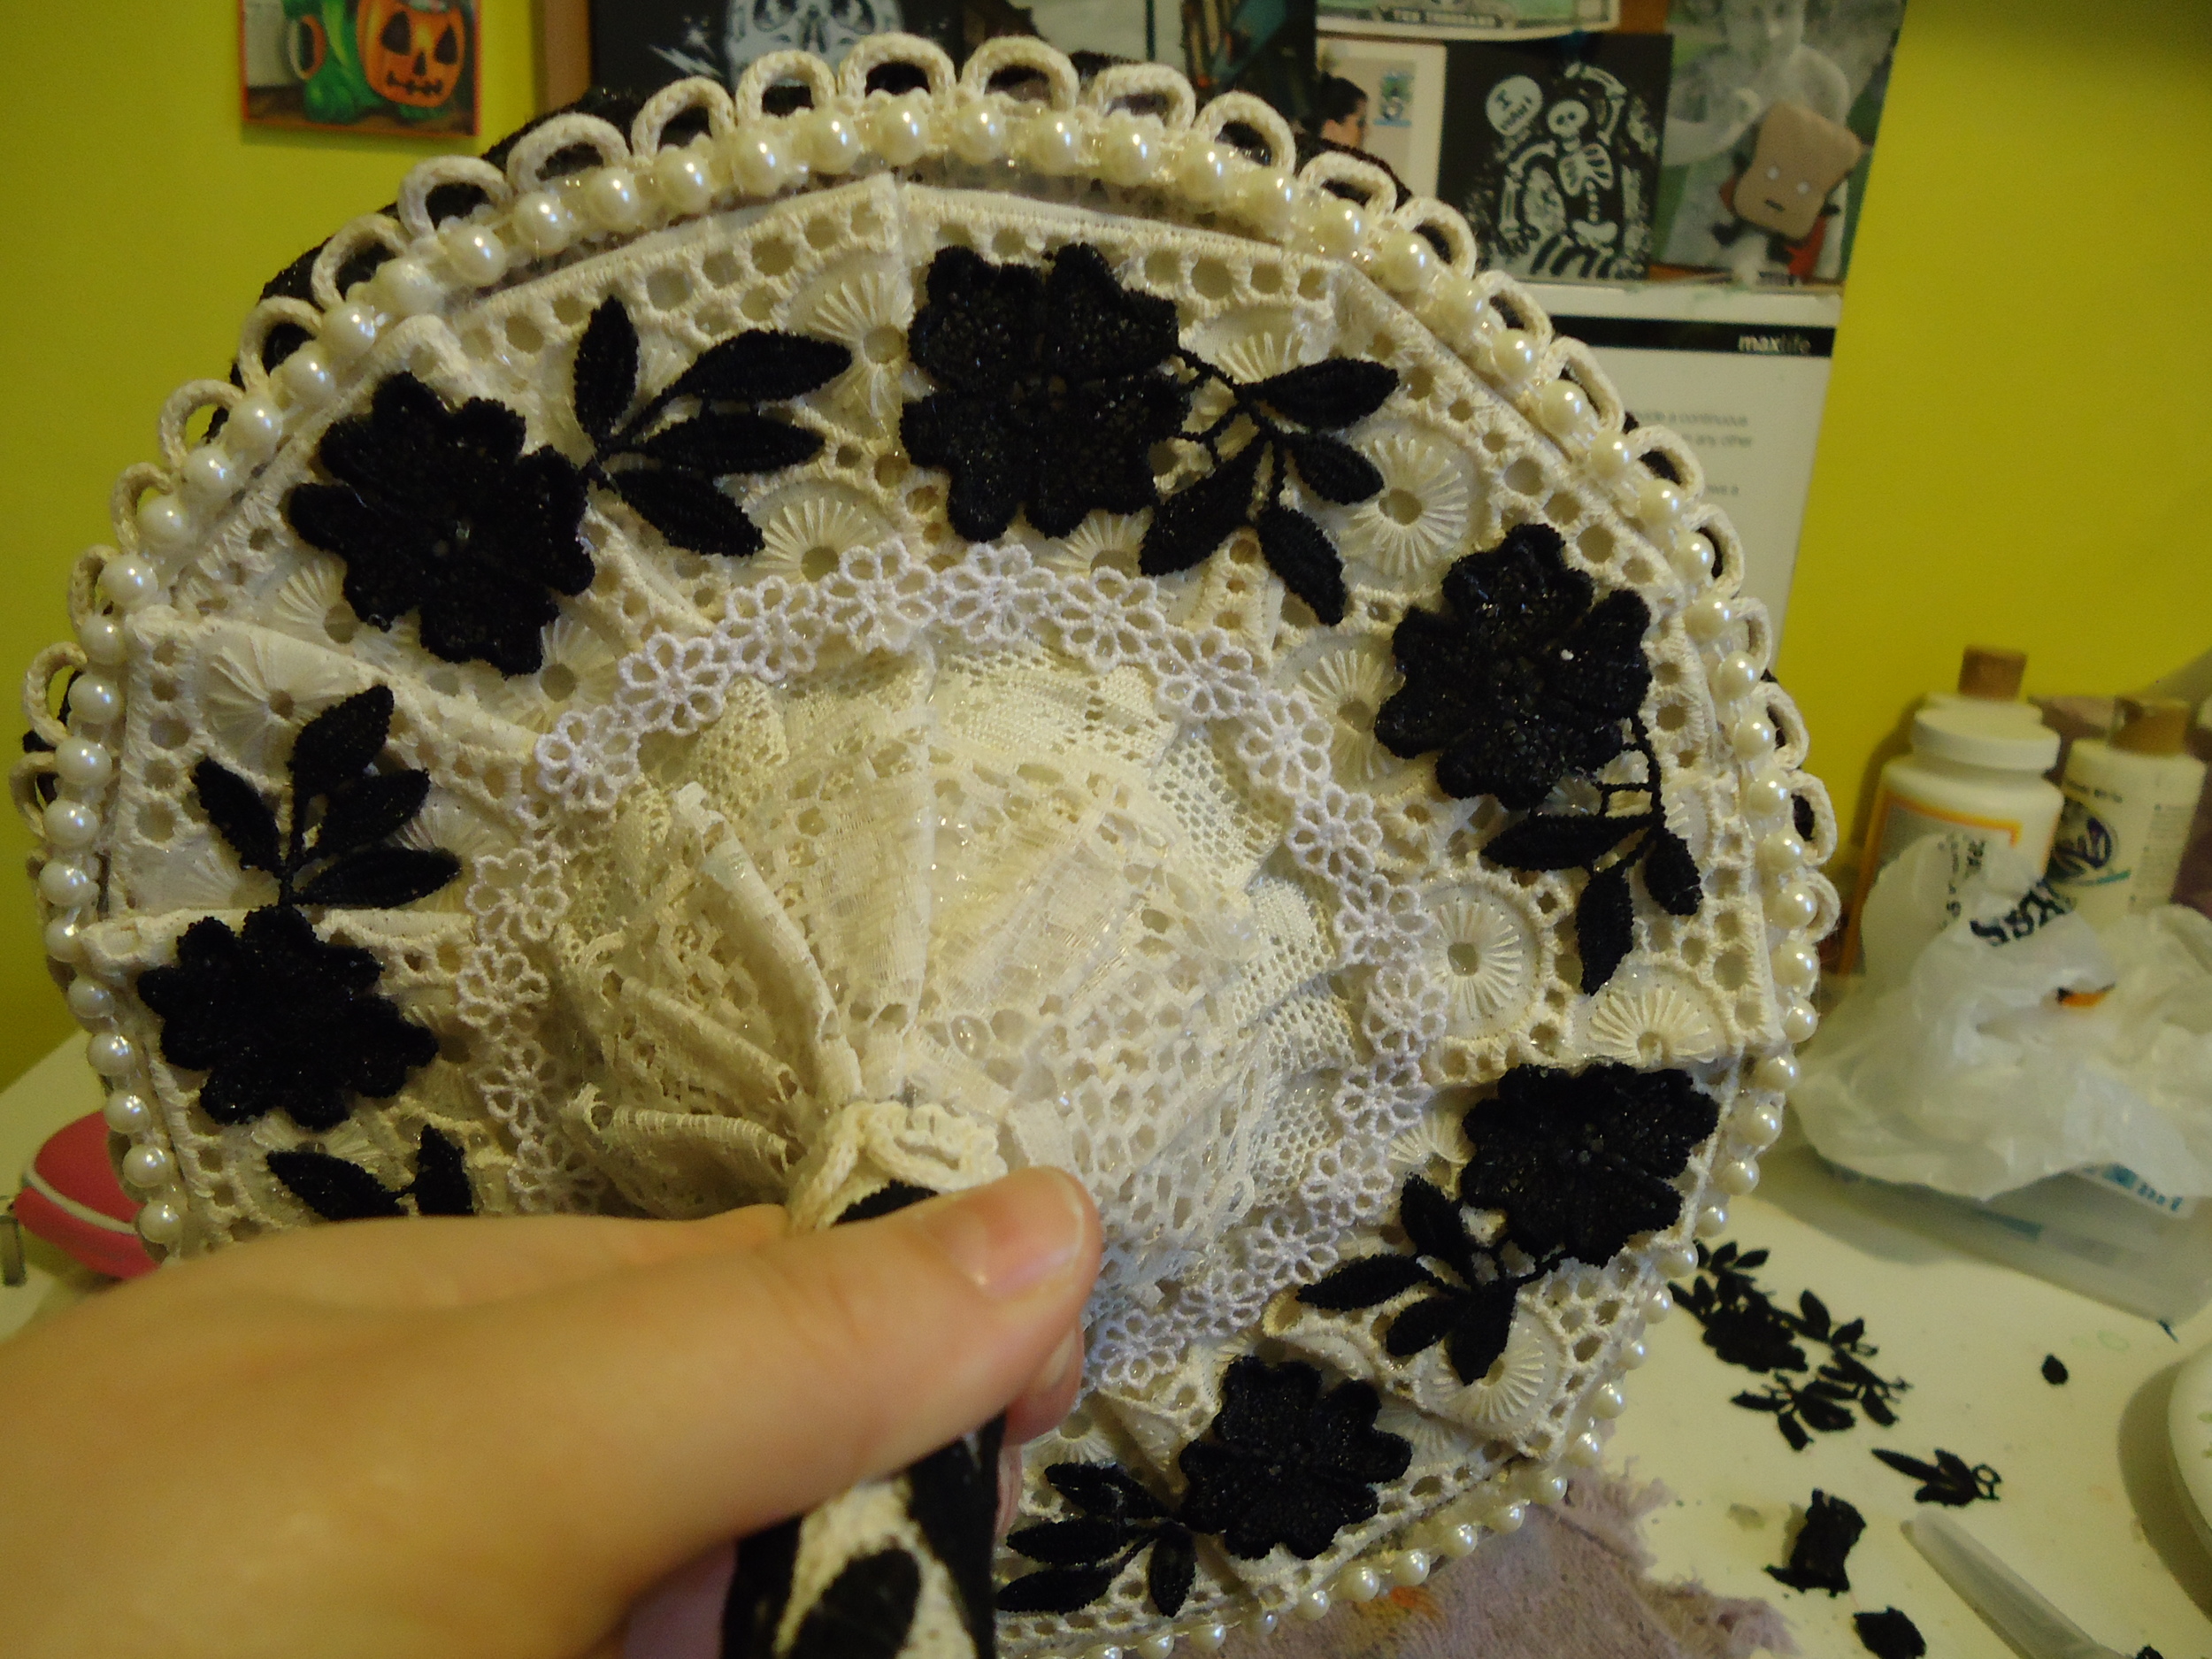
There will be a gap between the buttons on the bottom of the foam and the fabric. Glue lace around the gap.

Then I added a piece of fabric to cover the base of the handle I used.
More lace around the side of the bouquet.

The lace won't lay flat in a circle. So I tucked it and glued it down. You will need something like a pen or the tip of a pair of scissors to press the edges down so you don't burn yourself. I was using an awl I had handy.


Then another layer of lace.

I had this skull lace and I wanted black to be one of my colors, so I added black lace around the side.

I cut the roses out of this black Venetian lace and added them. You can also see here the additional layers of lace on the handle.

The finished bottom of the bouquet. I added a string of pearls and additional lace. I added the leaves of the flowers from the black lace to the handle.

Top view of the finished bouquet.
Done! Now I just have to finish the ones for the bridesmaids.

This takes a LOT of time, and it isn't exactly cheaper than just buying them would have been. Buttons and lace aren't cheap. But I really like how it turned out, and it's exactly what I wanted.